Family camping by a lake, roasting marshmallows, enjoying nature, essential for First Aid Kit for Camping checklist.

Camping First Aid Kit - What to Pack for Each Season

6 min reading time

When help may be hours away, your first aid kit becomes the first line of care. Use this field-tested guide to build a kit that’s fast to find, easy to use, and tailored to your route and season.

Quick jump: Explore our Outdoor & Remote Adventure collection → 
Want pro-grade, ready-to-pack? See the Advanced Adventurer First Aid Kit 

Start with a reliable core (then tailor it)

A great camping first aid kit isn’t “everything.” It’s the right things, staged for speed, covering the injuries you’ll actually see: bleeding, wounds/burns, sprains, blisters—plus basic meds and tools.

Core loadout

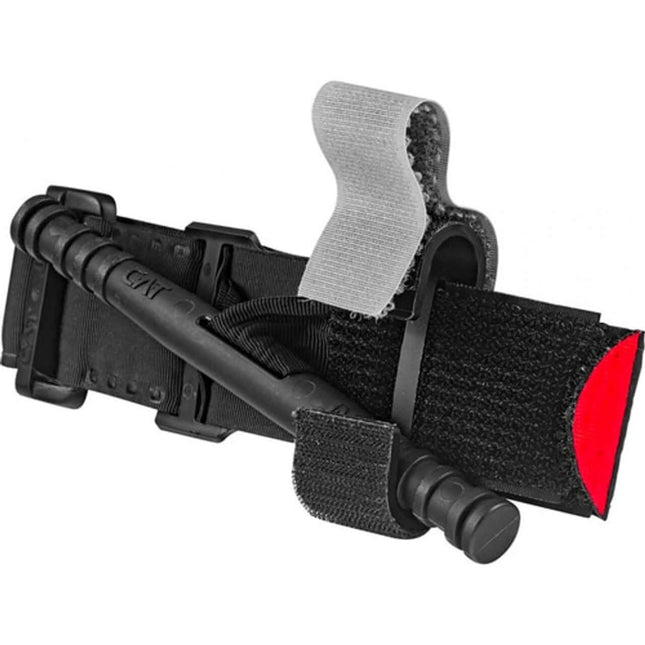
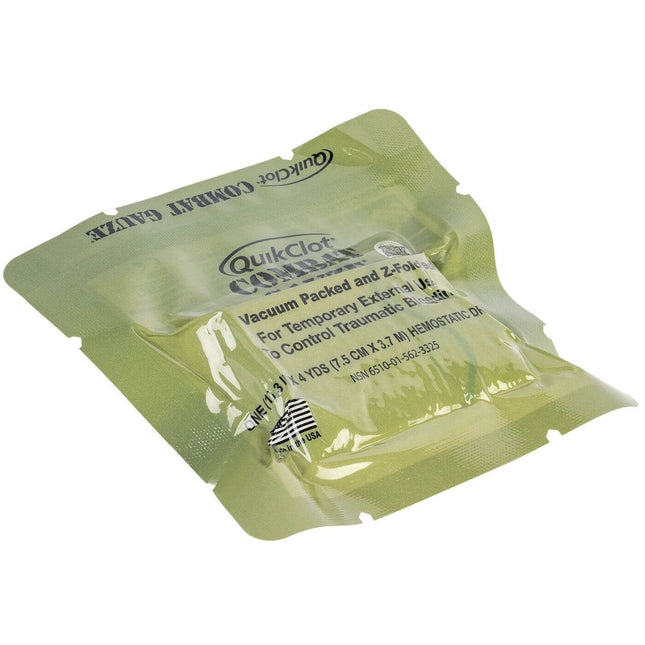
  • Bleeding & trauma: windlass tourniquet (TCCC-recommended style), pressure dressing, rolled or hemostatic gauze, nitrile gloves, medical tape, trauma shears.
  • Wound & burn care: Irrigation (saline pods or syringe), antiseptic, non-adherent pads, hydrogel/burn gel, a few closure strips, blister care (moleskin or hydrocolloids).
  • Sprains & stability: Elastic wrap, compact splint; optional finger splint for camp-chore mishaps.
  • Respiration & PPE: CPR face shield, eyewash/irrigation ampules, light eye protection.
  • Meds & relief (clearly labeled): Pain reliever, antihistamine, anti-diarrheal, anti-nausea, antacid, oral rehydration salts/electrolytes; add personal prescriptions and an EpiPen if prescribed.
  • Tools & essentials: Tweezers, mini marker (for TQ time), thermometer strips, space blanket, small light, tick remover, water purification tabs.

ViTAC Advanced Adventurer First Aid Kit, essential first aid kit for camping, compact, weather-resistant case with medical supplies.

Prefer a ready-built solution? The Advanced Adventurer First Aid Kit organizes bleed control and wound care on top—roomy enough for personal meds without excess bulk.

Waterproofing & organization that actually works

A soaked kit is slow—and sometimes unusable. Build in layers:

  1. Outer protection: Water-resistant pouch or roll-top dry bag.
  2. Inside layout: Clear pouches labeled Trauma / Wounds / Sprains / Meds / Tools.
  3. Stage for speed: The moment the kit opens, you should see tourniquet, pressure dressing, gloves, shears.
  4. Moisture control: Double-bag meds and hemostatic gauze; add desiccant in humid climates.
  5. Post-trip reset: Refill and reseal anything you opened.

Camping kit vs. IFAK (and when to blend them)

  • An IFAK is built for immediate life threats: tourniquet + pressure dressing + gauze, staged for one-hand access.
  • A camping first aid kit adds what you’ll use more often outdoors: irrigation, non-adherent pads, blister/burn care, elastic wrap, compact splint, core meds.

For most backcountry routes, blend both: trauma-forward top layer + organized outdoor care underneath.

Seasonal & environment add-ons (keep it lean, keep it relevant)

Summer (heat, sun, insects). Add extra electrolytes/ORS, high-SPF sunscreen and lip balm, after-sun lotion, insect repellent and bite/sting relief, tick key, and a little extra blister care.

top-down flat lay on a weathered wooden picnic table at a campsite: an open, well-organized camping first aid kit with labeled compartments (bandages, gauze, antiseptic wipes, blister care, tweezers, meds in clearly marked mini pouches)

Winter (cold, snow, ice). Pack a second space blanket or a bivy, chemical hand warmers, lip/skin barrier ointment, and windburn protection. Slips mean more sprains—carry an extra elastic wrap and ensure tape stays warm so it adheres.
Desert (heat, dust, thorns). Bring more irrigation, eyewash, and layered dressings for abrasion. Fine-tip tweezers (and even a bit of duct tape) help with cactus spines; plan on extra electrolytes.
Alpine & high elevation. UV spikes: add high-UV sunscreen and wrap-around sunglasses. Steep terrain = more blister prevention and a compact splint. Keep everything compact, waterproof, and glove-accessible.
Family camping. Add a pediatric dosing card and child-appropriate meds, more adhesive bandages, a thermometer, and extra gloves/wipes for frequent minor care.

How big should my camping first aid kit be?

Use three questions to size your loadout:

1.     How far from help? If evacuation is hours away, keep trauma + wound care robust.

2.     How many people? Add redundancy for groups—extra gloves, gauze, tape, and ORS.

3.     What environment? Heat, cold, altitude, water, and animals dictate which add-ons earn their place.

Sizing examples

  • Solo day hike: core list, tight quantities, emphasize blister care.
  • Weekend camp (2–4 people): core + seasonal adds, more dressings/gloves, extra ORS.
  • Backcountry/alpine: core + heavier trauma/wound module, compact splint, added meds; duplicate gauze/tape.
  • Vehicle/overland: core + expanded trauma and irrigation; keep a compact kit on your person for quick side hikes.

What medicines belong in a camping first aid kit?

Stick to clearly labeled basics you’ll actually use: a pain reliever, antihistamine, anti-diarrheal, anti-nausea, antacid, and ORS/electrolytes.

Add your personal prescriptions and any condition-specific needs (e.g., inhaler).

Keep original labels in a small sleeve; decant working quantities into mini vials or pouches to save space and weight.

Is a tourniquet really necessary in a first aid kit built for the outdoors?

If you travel off-grid, yes—a well-staged tourniquet with a pressure dressing and gauze gives you a real plan for knife slips, tool mishaps, or falls with serious bleeding.

Practice application with gloves until it’s smooth. Note the time of application with your mini marker.

How do I organize my first aid kit for speed?

Think “open → grab → act.” Put trauma items on top. Keep modules simple and labeled, not rainbow-coded chaos.

Use a high-contrast interior so you can see items at dusk.

Repack the same way every time—muscle memory beats stress.

a parent kneeling by a picnic table organizing a compact first aid kit while two kids nearby put on hiking shoes

Packing tips from the field

  • Train your workflow. A 2-minute drill at the trailhead—“Where’s the TQ? Who carries the splint?”—pays off.
  • Mind the meds. Label everything clearly; carry a printed dosing card (pediatric if needed).
  • Duplicate wisely. Extra gloves, gauze, tape, and a few universal bandage sizes get used the most.
  • Personalize. Add allergy meds, prescriptions, or glucose as appropriate.
  • Final check. Date-stamp your kit review and replace anything expired or wet.

Quick reference checklist

  • Trauma (top layer): tourniquet, pressure dressing, gauze, gloves, shears, marker
  • Wounds/burns: irrigation, antiseptic, non-adherent pads, closure strips, burn gel
  • Sprains/blisters: elastic wrap, compact splint, hydrocolloids/moleskin, small scissors
  • Meds/PPE: pain reliever, antihistamine, anti-diarrheal, antacid, anti-nausea, ORS; CPR face shield, eyewash
  • Tools/other: tweezers, space blanket, small light, tick remover, water purification tabs


Grab Our Free  First Aid Kit Checklist (PDF) Download Below - 

Next step: Explore ready-made options in our Outdoor & Remote Adventure collection → 

Want pro-grade, ready-to-carry? The Advanced Adventurer First Aid Kit is purpose-built for remote environments. → 


Tags


Read this next...

  • Church lobby wall-mounted bleed control kit providing public access readiness for congregants and visitors

    Bleed Control Kits for Churches and Workplaces

    OSHA minimum workplace kits don't include a tourniquet. Here's how to calculate station count, stock each station, and build bleed control coverage in any public...

  • Building floor plan with bleed control kit placement markers showing coverage zones and recommended kit density per square footage

    How Many Bleed Control Kits Your Building Actually Needs

    One kit at the main entrance fails the 90-second coverage rule for most buildings. Here's how to run a coverage audit and calculate the correct...

  • Office wall-mounted bleed control kit open and accessible for workplace public access readiness program

    Why Businesses Need Public Access Bleed Control Kits

    Arterial hemorrhage kills in 3 minutes. Urban EMS takes 7–10. Every business needs CoTCCC-standard bleed control kits — here's how to select, deploy, and train...

  • School hallway wall-mounted bleed control kit station positioned near classroom door for immediate student and staff access

    Bleed Control Kits for Schools: What to Stock and Where to Place Them

    40+ states mandate bleed control kits in schools — but most deployment plans miss classrooms and buses. Here's the placement standard that actually works.

<h2>Your pre-tax dollars can fund your preparedness.</h2>

Your pre-tax dollars can fund your preparedness.

Most of our trauma kits and first aid supplies qualify for HSA and FSA reimbursement. Don't let your benefits expire — invest them in gear that could save a life.

Not sure which kit is right for your mission?

What are you preparing for? On-duty response, family preparedness, outdoor adventure... Answer 5 quick questions and we'll match you with the right gear.

Group of soldiers in military gear with an American flag in a desert setting

Our Mission.

We've been downrange. We know what it costs to be unprepared. ViTAC was built by U.S. Army Special Operations veterans to make sure the people who run toward the threat — and the families who depend on them — have gear that works when everything is on the line.

— ViTAC Solutions Founders | 40+ years combined Special Operations experience

Trusted by Law Enforcement & Tactical Professionals

Footer image

© 2026 ViTAC Solutions, Powered by Shopify

    • Amazon
    • American Express
    • Apple Pay
    • Diners Club
    • Discover
    • Google Pay
    • Mastercard
    • PayPal
    • Shop Pay
    • Visa

    Login

    Forgot your password?

    Don't have an account yet?
    Create account