Stop the Bleed Kits: What's Inside and How They Work
6 min reading time
6 min reading time
After-action reviews from the Boston Marathon bombing confirmed what battlefield medicine already knew: bystanders with hemorrhage control training save lives before EMS arrives. That finding prompted the U.S. Department of Defense and the American College of Surgeons to launch the Stop the Bleed campaign in 2013. Since then, more than one million bleeding control kits have been distributed to public venues, schools, and workplaces across the country. This post covers what those kits contain, what the training teaches, and where they are deployed.
Stop the Bleed is a public awareness and training initiative built around one objective: ensure a trained responder with a bleed control kit is present at any mass casualty or severe trauma event before EMS arrives. The average EMS response time in the U.S. is 7–10 minutes in urban areas and significantly longer in rural environments. A patient with uncontrolled arterial hemorrhage can die in 3–5 minutes. The gap between those intervals is the problem Stop the Bleed addresses.
The campaign does not sell kits — it defines a training standard and minimum kit contents. Kits that meet the standard contain a tourniquet, hemostatic gauze, pressure dressing, trauma shears, and gloves. Advanced configurations add chest seals and a hypothermia blanket. The training covers three techniques, in priority order, with hands-on repetitions on training mannequins.
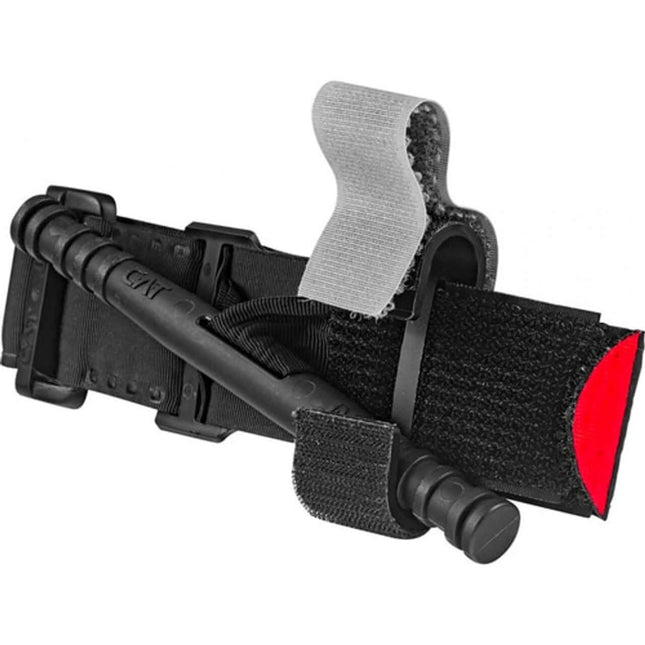
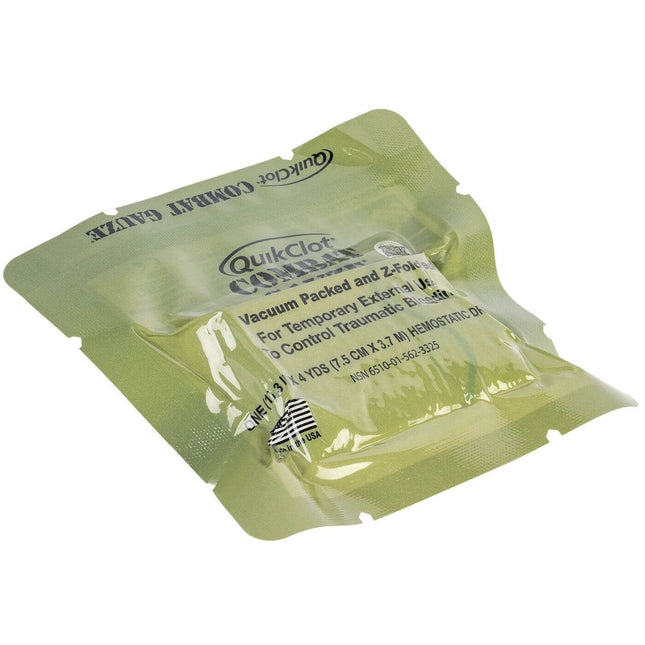
The minimum-standard Stop the Bleed kit contains:
Advanced kits add a vented chest seal for penetrating thoracic wounds and a Mylar hypothermia blanket. Severe blood loss drops core body temperature rapidly; the hypothermia triad (hypothermia, acidosis, coagulopathy) accelerates clotting failure. The blanket is a simple mitigation.
The ViTAC Intermediate Bleeding Control Pack meets the Stop the Bleed minimum standard and includes all core components in a compact IFAK-ready package.
Stop the Bleed training teaches three techniques in priority order. The correct technique depends on wound location:
1. Direct pressure. For accessible wounds where volume loss is not yet at arterial rate. Apply a dressing and press with your full body weight for a minimum of three minutes. Do not lift to check — you interrupt clot formation every time.
2. Wound packing. For deep cavity wounds, especially in junctional zones (neck, axilla, groin). Insert hemostatic gauze with a gloved finger, pressing into direct contact with the wound interior. Fill the cavity completely. Apply a pressure dressing over the pack. Maintain pressure for three minutes.
3. Tourniquet application. For arterial or high-volume bleeding on an arm or leg. Apply high and tight — two to three inches above the wound, never over a joint. Tighten the windlass until bleeding stops and peripheral pulse is absent. Do not remove in the field.
Field Note: Technique Selection
The sequence is not a ladder to climb — it is a decision based on wound location and bleed rate. A spurting femoral wound goes straight to tourniquet. A deep axillary wound skips to wound packing. Direct pressure is not a first step that escalates; it is the correct technique for wounds it can manage. Know which technique applies before you need it.
Stop the Bleed kit stations are expanding on the same model as AED cabinets — wall-mounted, clearly labeled, in high-traffic or high-risk locations. Schools, university campuses, sports arenas, airports, government buildings, and industrial worksites are the primary deployment environments. Co-locating with AEDs is deliberate: the two devices address the two leading causes of preventable death where bystanders can intervene.
When in an unfamiliar public venue, note the location of the bleed control station the same way you locate the AED and emergency exit. That situational awareness costs 30 seconds and may matter in an event where you have 3 minutes to act.
The core Stop the Bleed course is two to four hours of classroom and hands-on instruction. Participants practice tourniquet application, wound packing, and direct pressure on training mannequins with simulated wound cavities. Repetition under mild stress is the goal — the technique must be retrievable under adrenaline, not just readable on a card.
Stop the Bleed courses are available through hospitals, fire departments, Red Cross chapters, and law enforcement agencies at no cost. TECC-B (Tactical Emergency Casualty Care — Bystander) is a higher-fidelity alternative for carriers who want scenario-based training that includes decision-making under pressure, not just technique mechanics.
Stop the Bleed training addresses the first priority in MARCH — Massive hemorrhage. A complete first responder capability covers all five phases: Massive hemorrhage, Airway, Respiration, Circulation, and Hypothermia. Read the MARCH protocol guide to understand what comes after the bleed is controlled.
For workplace and building deployment, see why businesses need public access bleed control kits and how many kits your building actually needs.
The Stop the Bleed campaign has done more to close the bystander gap in civilian trauma response than any other initiative in the last 20 years. The kit is straightforward, the three techniques are learnable in an afternoon, and the deployment infrastructure is expanding. Own a kit. Get the training. Know where the nearest station is in the venues you frequent.

OSHA minimum workplace kits don't include a tourniquet. Here's how to calculate station count, stock each station, and build bleed control coverage in any public...

One kit at the main entrance fails the 90-second coverage rule for most buildings. Here's how to run a coverage audit and calculate the correct...

Arterial hemorrhage kills in 3 minutes. Urban EMS takes 7–10. Every business needs CoTCCC-standard bleed control kits — here's how to select, deploy, and train...

40+ states mandate bleed control kits in schools — but most deployment plans miss classrooms and buses. Here's the placement standard that actually works.

Most of our trauma kits and first aid supplies qualify for HSA and FSA reimbursement. Don't let your benefits expire — invest them in gear that could save a life.


$124.95


$279.99

$37.49 - $139.46


$299.95 $269.95


$139.95 - $169.95

$49.95


$25.99


$164.95

We've been downrange. We know what it costs to be unprepared. ViTAC was built by U.S. Army Special Operations veterans to make sure the people who run toward the threat — and the families who depend on them — have gear that works when everything is on the line.
— ViTAC Solutions Founders | 40+ years combined Special Operations experience