Preparing for Field Injuries When Help Is 30 Minutes Away
7 min reading time
7 min reading time
The average EMS response time in rural areas of the United States exceeds 18 minutes. In genuinely remote terrain, that figure extends well beyond 30 to 60 minutes or more. During that interval, the decisions and actions taken by whoever is on scene determine whether an injured person survives with minimal complications or deteriorates into a preventable death.
This guide covers what to carry, what to do first, how to manage an injured person while waiting for evacuation, and how to verify your kit is ready before you leave the trailhead.
TCCC and Wilderness EMS both sequence field trauma response using the MARCH protocol. Work through it in order — do not advance to the next step until you have addressed the current one:
| Priority | Assessment Focus | Field Action |
|---|---|---|
| M — Massive Hemorrhage | Is the patient bleeding at a life-threatening rate? | Tourniquet for limb bleeds; wound pack with hemostatic gauze for junctional wounds |
| A — Airway | Is the airway open and clear? | Head-tilt/chin-lift or NPA if unconscious; recovery position if breathing |
| R — Respiration | Is the patient breathing adequately? | Seal sucking chest wounds with vented chest seals; begin rescue breathing if no pulse |
| C — Circulation | Are secondary bleeds controlled? Is shock developing? | Direct pressure on secondary wounds; lay flat, elevate legs if no spinal injury suspected |
| H — Hypothermia | Is the patient at risk for heat loss? | Wrap in Mylar or thermal blanket; remove wet clothing; shield from wind |
Field Note: Scene Safety Is the First Intervention
Scene safety comes before patient contact. If the hazard that injured the first person can injure you — unstable terrain, active traffic, downed electrical lines — your role is to call for help and wait. Do not become a second casualty.
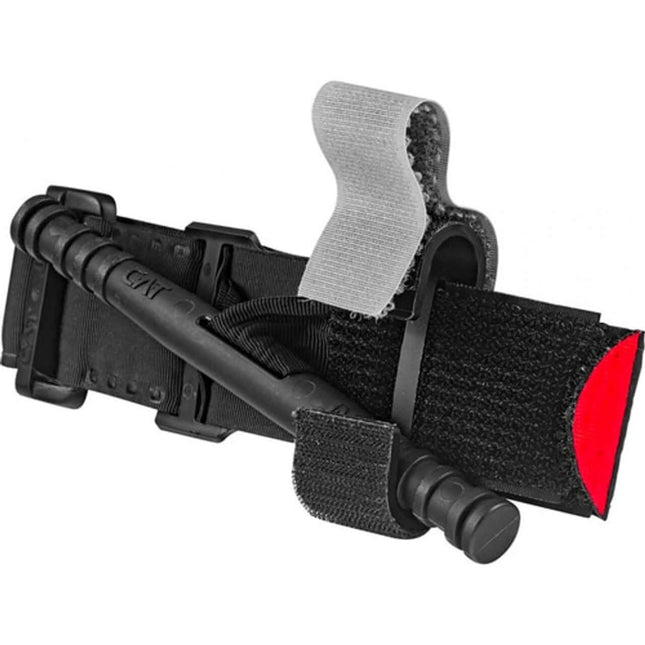
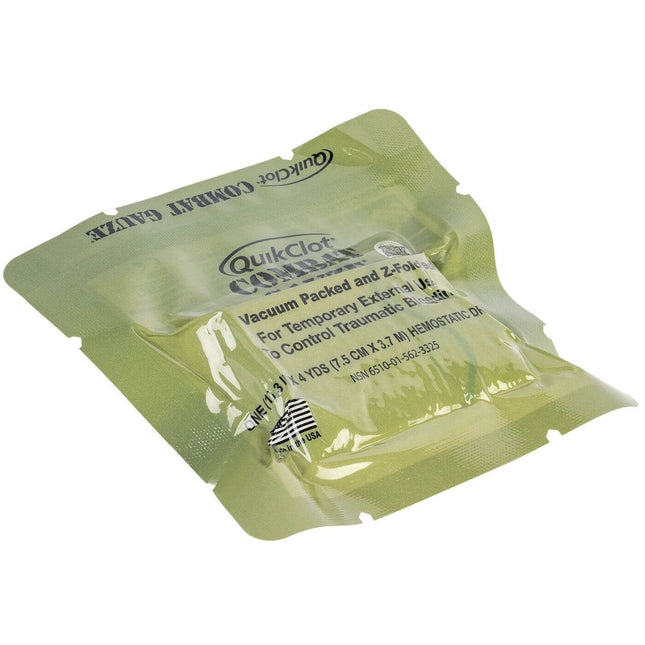
Apply a tourniquet high and tight on any limb with arterial bleeding — do not hesitate. Write the time on the tourniquet or the patient's skin immediately. For torso, neck, or groin wounds where a tourniquet cannot be placed, pack the wound firmly with hemostatic gauze and apply sustained manual pressure for a minimum of three minutes. Add material on top of blood-soaked dressings without removing the original layer.
Immobilize in the position found unless distal circulation is absent. Splint above and below the injury using a SAM splint, improvised materials, or a wrapped and padded limb. Pad all bony prominences to prevent pressure sores during extended evacuation holds. For sprains, wrap with an elastic bandage and confirm capillary refill in fingers or toes — if refill time exceeds 2 seconds, the bandage is too tight.
Hypovolemic shock follows uncontrolled bleeding and presents as pale or grey skin, rapid weak pulse, confusion, and cold extremities. Keep the patient supine; elevate the legs 12 inches if no spinal or lower-extremity fracture is suspected. Prevent heat loss aggressively — shock and hypothermia are mutually reinforcing. Do not offer fluids to a potentially surgical patient or anyone with altered level of consciousness.
Reassess every 15 minutes for serious injuries, every 30 minutes for stable patients. Track and record:
This record transfers directly to the receiving EMS or trauma team. If you have satellite communication capability, relay vitals with your position and mechanism of injury.
Organize by treatment priority, not by body system. Under stress, your hand should reach the right item first:
| Compartment / Layer | Contents |
|---|---|
| Outermost / Top | Tourniquet, chest seals, nitrile gloves — life-threat items only |
| Main — Front | Hemostatic gauze, pressure bandages, trauma shears, irrigation syringe |
| Main — Middle | Sterile gauze pads, medical tape, antiseptic wipes, SAM splint, elastic bandages |
| Main — Rear | Medications, instant cold packs, Mylar blanket, CPR mask, personal prescriptions |
| Outer Pocket | Emergency contacts, medical history sheet, permanent marker |
Group items within each layer using labeled clear zip bags. A kit you can navigate in 10 seconds in daylight should take no longer than 20 seconds in the dark. Practice it.
Run this before every trip — not once a season:
Field Note: A Pre-Trip Inventory Takes Five Minutes
A kit with missing or expired components is not a functional kit. Running a pre-trip inventory takes five minutes. Discovering the gap during an emergency is not recoverable.
Purpose-built kits reduce the margin for missed components and eliminate the risk of substandard substitutions. For the decision matrix on kit type by trip profile, see Camping First Aid Kit vs. Trauma Kit: Which Do You Need?
MARCH priorities drive the answer. A TCCC-approved tourniquet, hemostatic gauze, and pressure bandage cover massive hemorrhage. Vented chest seals address penetrating chest wounds. A Mylar blanket, nitrile gloves, and irrigation syringe complete the primary tier. General wound care supplies build from there.
Confirm scene safety, then work MARCH: Massive hemorrhage first (tourniquet or wound pack), Airway, Respiration, Circulation, Hypothermia. Do not advance to the next priority until the current one is addressed. Record tourniquet application time immediately.
Before every trip. Replace what was used, verify expiration dates, confirm packaging integrity. Do not assume the kit is ready because it was packed before the last trip.
When help is 30 minutes out, the outcome is largely determined in the first five minutes. MARCH gives you the sequence. A pre-built, organized, verified kit gives you the tools. Training gives you the execution under stress.
Build your kit around TCCC-standard components: browse ViTAC trauma kits here.

OSHA minimum workplace kits don't include a tourniquet. Here's how to calculate station count, stock each station, and build bleed control coverage in any public...

One kit at the main entrance fails the 90-second coverage rule for most buildings. Here's how to run a coverage audit and calculate the correct...

Arterial hemorrhage kills in 3 minutes. Urban EMS takes 7–10. Every business needs CoTCCC-standard bleed control kits — here's how to select, deploy, and train...

40+ states mandate bleed control kits in schools — but most deployment plans miss classrooms and buses. Here's the placement standard that actually works.

Most of our trauma kits and first aid supplies qualify for HSA and FSA reimbursement. Don't let your benefits expire — invest them in gear that could save a life.


$124.95


$279.99

$37.49 - $139.46


$299.95 $269.95


$139.95 - $169.95

$49.95


$25.99


$164.95

We've been downrange. We know what it costs to be unprepared. ViTAC was built by U.S. Army Special Operations veterans to make sure the people who run toward the threat — and the families who depend on them — have gear that works when everything is on the line.
— ViTAC Solutions Founders | 40+ years combined Special Operations experience