How to Apply a Tourniquet: Step-by-Step Field Technique
6 min reading time
6 min reading time
Uncontrolled hemorrhage from extremity wounds is the leading cause of preventable death in both combat and civilian trauma. In the Hartford Consensus framework, tourniquet application within the first two to three minutes of a severe limb bleed is the difference between a limb-salvageable outcome and a preventable fatality. This guide covers application mechanics from assessment through documentation. Tourniquet application is the primary intervention for the M — Massive Hemorrhage — in the MARCH trauma response framework.
A tourniquet is indicated for life-threatening extremity bleeding that direct pressure cannot control. The threshold criteria:
If the bleed is manageable with sustained direct pressure, maintain pressure. Reserve tourniquet application for when pressure alone cannot hold the hemorrhage.
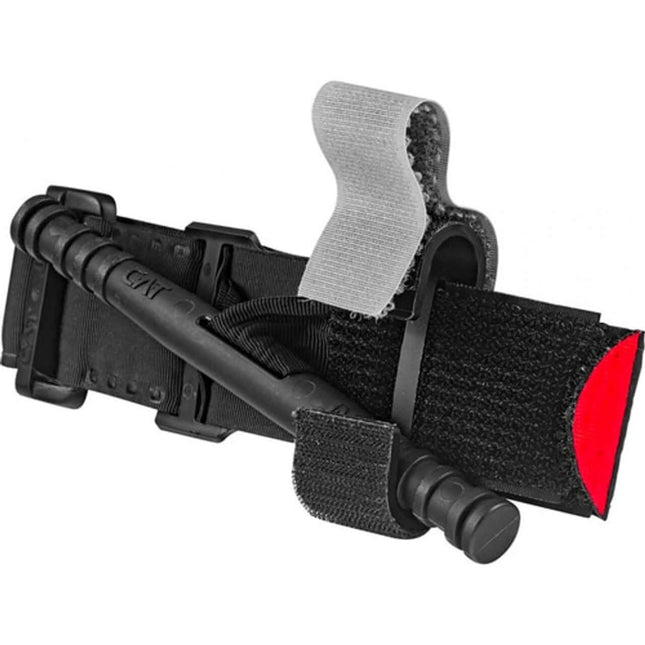
A commercial tourniquet — the CAT Gen 7 or SOF-T Wide — is the standard of care in TCCC and civilian bleeding control curricula. Both are tested to ASTM F3143 and designed for one-handed self-application. Use these when available.
An improvised tourniquet built from wide fabric and a windlass rod is a last resort. It requires wider material than most people carry, more application time, and produces inconsistent arterial occlusion. If you operate in environments where bleeding emergencies are possible, carry a commercial tourniquet.
Remove or cut away clothing over the injury site and the application zone. Clothing bunched under the tourniquet reduces effectiveness and makes reassessment harder. Clear any items from pockets near the application zone.
Place the tourniquet 2 to 3 inches proximal to the wound, between the wound and the torso. Avoid placing it directly over a joint (elbow, knee). If the wound is near a joint, position above it. For amputations, go high and tight: as far proximal as possible on the limb, not just above the injury site.
Route the strap through the buckle and pull all slack out before engaging the windlass. The strap should be snug against the limb — not loose, not skin-compressing. Initial tension determines how much work the windlass has to do. An under-tensioned strap requires excessive turns, which increases movement and reduces control.
Rotate the windlass rod continuously until bright red bleeding stops or reduces to dark venous seepage. Do not stop at the point of pain. Stop when the bleed is controlled. On a correctly applied tourniquet, pain is expected and confirms arterial occlusion. Loosening because of patient pain undoes the mechanism and restarts hemorrhage.
Seat the windlass rod firmly into the clip or locking mechanism. On the CAT Gen 7, the triangular locking clip is designed to hold the rod under load. Press it in completely. If the clip does not seat cleanly, wrap the remaining strap over the windlass as a secondary lock. The windlass must not be able to rotate backward.
Write the time of application on the patient's forehead with a permanent marker: T = [time]. If no marker is available, write it on the tourniquet strap or on tape affixed to the limb. Limb viability begins to degrade after two hours of tourniquet application. Arriving medical personnel need this time to triage appropriately. Verbal reporting is not sufficient — write it down.
Field Note: When You Cannot Confirm It Is Working
If you applied a tourniquet and cannot confirm it is working — debris-packed wound, slow bleed, poor lighting — tighten it further. An over-tightened tourniquet is survivable. An inadequately tightened one is not.
After locking the windlass, run three checks:
When helping another person, verbally cue them before application: state what you are doing and that it will be painful. This reduces combative response and allows them to brace. Position yourself to use both hands — full manual tension on the strap before windlass engagement gives better control than one-handed application.
After application, monitor for altered consciousness, keep the patient still, and prevent them from loosening the tourniquet. Patients in pain or shock frequently attempt to remove or adjust the device.
If the bleed continues after maximum tightening, apply a second tourniquet immediately proximal to the first, between the first tourniquet and the torso. Stacked tourniquets address arterial anatomy where a single occlusion point may not capture all hemorrhage pathways in large-limb injuries.
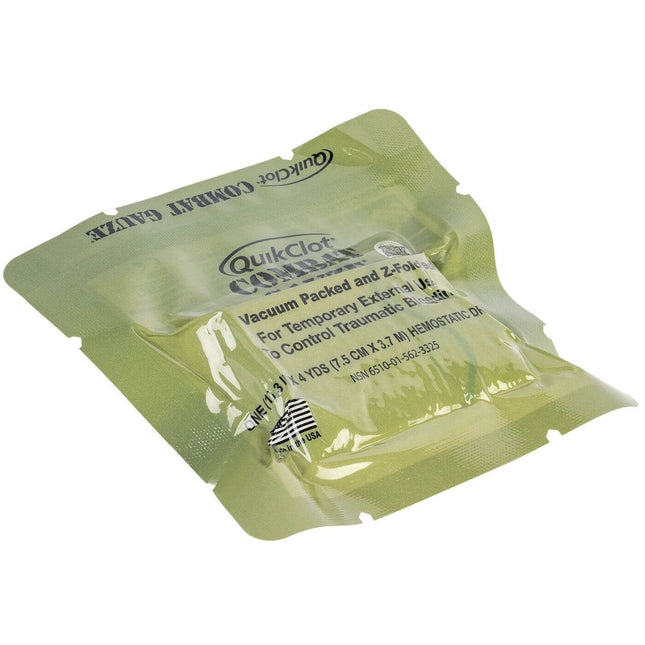
For wounds at junctional locations (groin, axilla, neck), a tourniquet cannot be applied effectively. These require wound packing with hemostatic gauze and sustained manual pressure. The Intermediate Bleeding Control Pack includes hemostatic gauze configured for junctional wound management.
Use a tourniquet for life-threatening bleeding from an arm or leg that direct pressure cannot control — arterial bleeds, amputations, or wounds where you cannot maintain adequate pressure while managing the situation.
Tight enough to stop arterial blood flow. The tourniquet must be painful — that is the clinical indicator that pressure is sufficient. If you can feel a distal pulse below the tourniquet, it is not tight enough.
TCCC guidelines target conversion — transition to wound packing and pressure — within two hours to reduce limb ischemia risk. That conversion is performed by trained medical personnel, not the first responder. Do not attempt removal in the field.
Tourniquet application is a perishable skill. Knowing the steps intellectually is not the same as executing them under stress, in poor light, with one hand, on yourself. Run application drills with your actual kit until placement and windlass engagement are automatic.
For context on when tourniquet use is indicated and what to look for in a commercial tourniquet, see the companion guides in this series. The CAT Gen 7 Tourniquet is the current TCCC standard — it belongs in your kit, your vehicle, and anywhere you may be first on scene.

OSHA minimum workplace kits don't include a tourniquet. Here's how to calculate station count, stock each station, and build bleed control coverage in any public...

One kit at the main entrance fails the 90-second coverage rule for most buildings. Here's how to run a coverage audit and calculate the correct...

Arterial hemorrhage kills in 3 minutes. Urban EMS takes 7–10. Every business needs CoTCCC-standard bleed control kits — here's how to select, deploy, and train...

40+ states mandate bleed control kits in schools — but most deployment plans miss classrooms and buses. Here's the placement standard that actually works.

Most of our trauma kits and first aid supplies qualify for HSA and FSA reimbursement. Don't let your benefits expire — invest them in gear that could save a life.


$124.95


$279.99

$37.49 - $139.46


$299.95 $269.95


$139.95 - $169.95

$49.95


$25.99


$164.95

We've been downrange. We know what it costs to be unprepared. ViTAC was built by U.S. Army Special Operations veterans to make sure the people who run toward the threat — and the families who depend on them — have gear that works when everything is on the line.
— ViTAC Solutions Founders | 40+ years combined Special Operations experience